

Google Search Console is an important tool for every blogger. It allows you to see how often your website was shown in the search results of Google. In order to get access to this data, Google needs proof that you are indeed the owner of your website.
There are several ways to do this. Some are more technical. Others are easier if you are not that good at IT stuff. Let us compare the options:
Add a new site to Google Search Console
Here is the link to add a new website to GSC:
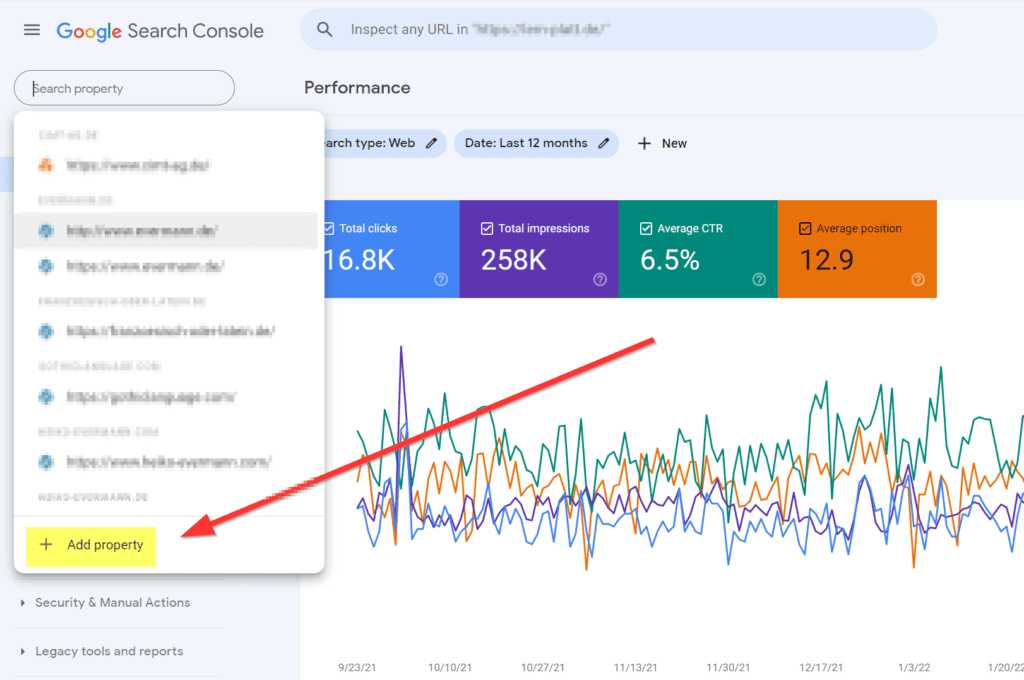
So click on “Add property” and answer the popup dialog:
Here you have to enter the URL of your website.
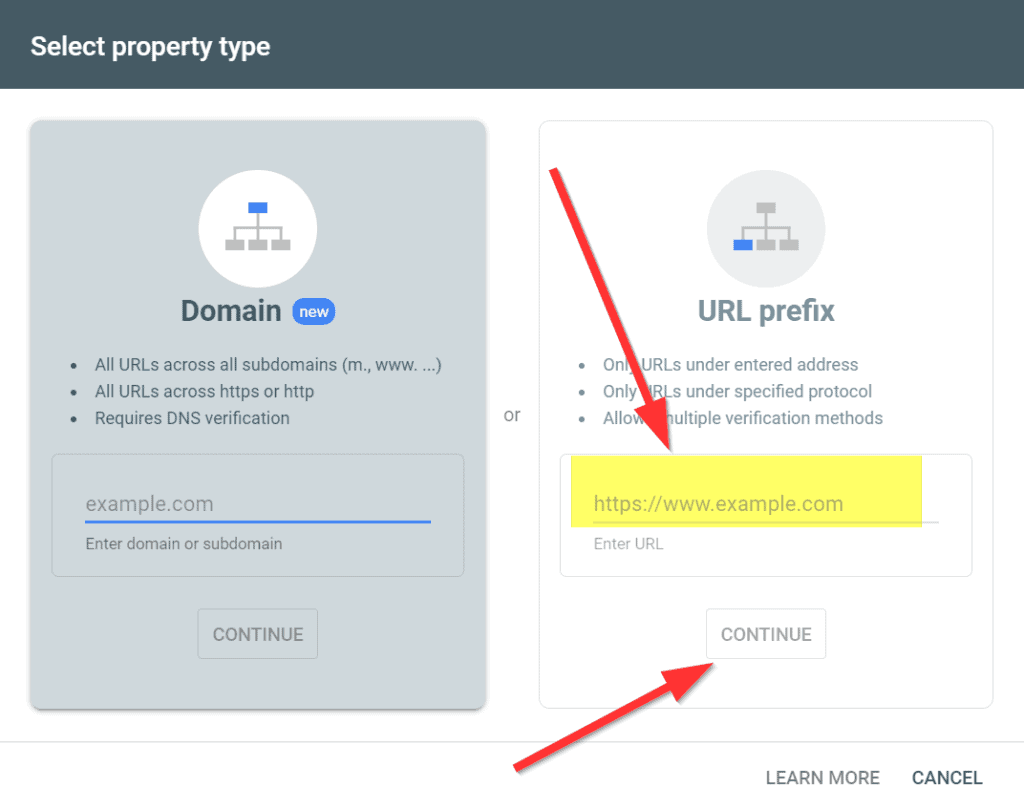
Option 1: tinker with the DNS settings. Don’t do that
Here we now have two option. One is Google’s recommended way: add something special to the DNS settings of your site. This is highly technical. It will require you to go to the website of your webhoster. And there you will need to change the DNS settings. As only the owner of the site can do that, this proves your owership. I recommend not to do that.
The only advantage that you get is that this works with all subdomains automatically. So it works for example.com, www.example.com, shop.example.com with just one setting. But it is far too complicated for an average user.
So keep note of whether your site is example.com or www.example.com. Take what you have used in your WordPress site. (Dashboard/Settings/General/ site address.)
Option 2: verify by HTML file. Do that
So pick the right hand side of the popup. Enter your domain name and click “continue”.
Now Google will check whether it can already verify your site. After a while it will tell you that so far it couldn’t. What a surprise. Google will now tell you your options:
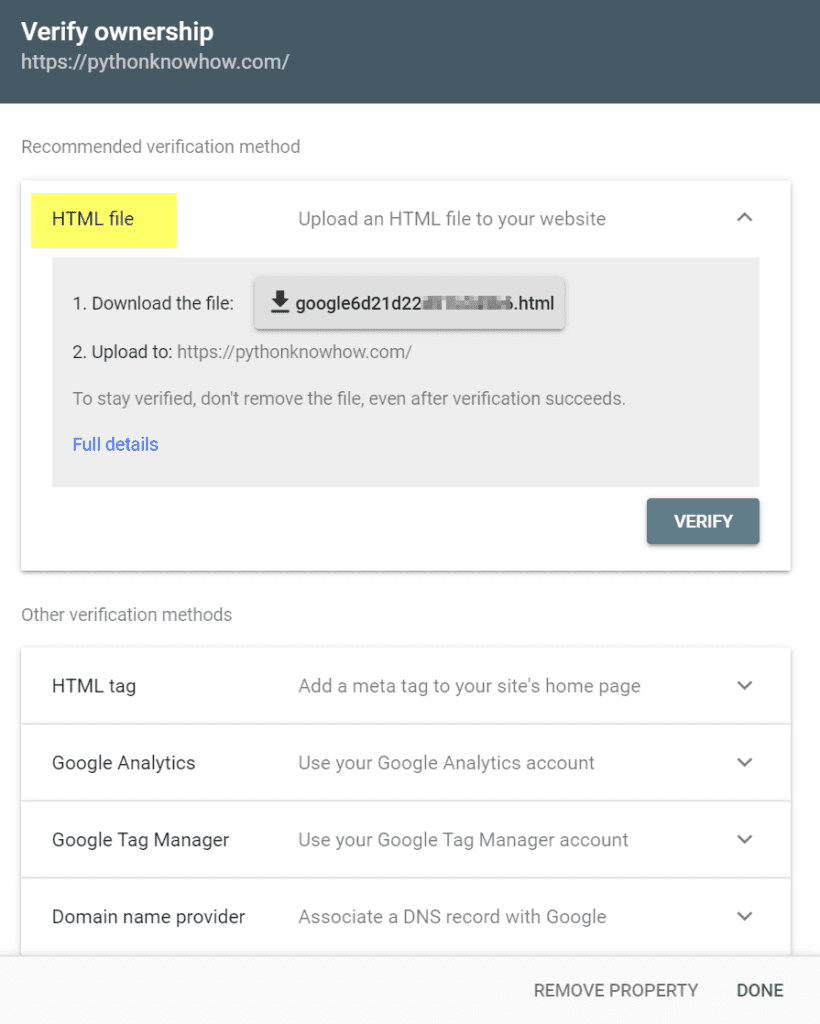
This is what all this is about:
Google has rolled a dice and has come up with a large number. This is a number that only Google and you will know. But you do not have to keep it that secret. Anyone else with a different Google account would get another number, so noone else can use that number but you.
It is now your job to stick this number to your website in some way. You have four options. DNS is still an option, but you still will not want to do that.
The easiest thing you can do now is the html file. Download the file that Google offers you. The file name consists of google plus the number. The content of this file will also be that number. Download this file onto your computer. Then take FileZilla or whatever your favorite ftp progam is and upload this file to example.com/filename. In my case to pythonknowhow.com/google6d21d22something.html
This of course means that you need to know how to access your site via FTP. I assume that you already do know. But if you don’t then you will probably also not know how to change the DNS records the way google wants you to. So you would have to learn one thing or the other. In that case learn how to use FTP. There are tons of web pages about that. In comparison to DNS, this is easier by far.
Last step: verify
Now switch back to the GSC popup and click on the “verify” button and you are done.
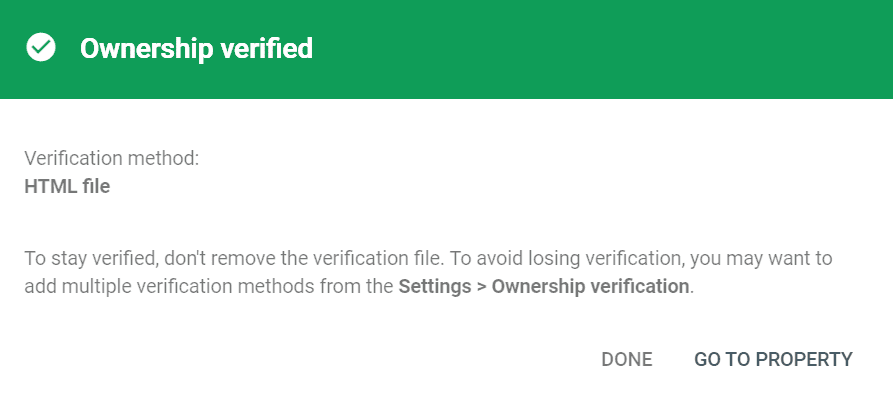
I always use the HTML file to prove ownership of my sites to Google. It has always worked. It has always been easy. If you know how to use your FTP program, then this is literally a matter of a few minutes.